Hello! I wanted to share the Father's Day cards I made this year, mostly using cut files from the Silhouette store. The first one is for one of my son-in-laws. He is very handy around the house and there isn't a tool he doesn't have. I thought he would enjoy this card, along with a Home Depot gift card.
And this next one was for my second son-in-law, who loves to grill outside. They eat alot of really healthy food, thus the artichoke on the inside. He also got a Home Depot gift card.
Back of card
This one is for my Father-in-law. He is pretty old school, and I made this from the Papertrey set Handy Hardware. I also used some patterned paper from a 6x6 pad for the rulers.
And last, but not least, is this one I made for my husband, who is an avid fly fisherman. I used a
WPlus9 set - Fish and More - for the accessories, and a free cut file for the vest, gotten from Dawn's blog here.
Did you make any Father's Day cards this year? Although my dad has passed away, I still make them for other Father's - the father of my kids, the fathers of my grandkids, and my husband's father. I think they deserve some special recognition of their day too! Have a great day!
Showing posts with label W9. Show all posts
Thursday, June 19, 2014
Wednesday, March 12, 2014
W9 Cupcake Fun!
Hello! I purchased Sweet Treats from WPlus9 serveral weeks ago, and just this week was able to order the dies that go with it. I have loved making these sweet little treats! The cupcakes come together so easy, and I just can't stop using the "Seize the Cupcake" sentiment! So fun. The blug tag is from Lil' Inkers.
I used a sparkly glitter pen on the petals and perfect pearls liquid for the icing. Aren't the little flags in this set so cute?
This card uses the dies for the cupcakes and the stands. Glitter abounds! Background paper is Lemon Tart Bitty Dots from PTI. Love the "Happy, Happy, Happy" sentiment - always makes me think of Duck Dynasty! haha
This card uses some cupcake patterned paper (My Minds Eye???) and washi tape for the little flags. The sentiment is from Bountiful Banners by PTI. Below is the inside of the card, which uses the W+9 cupcake and the cute sentiment.
Thanks for looking!
I used a sparkly glitter pen on the petals and perfect pearls liquid for the icing. Aren't the little flags in this set so cute?
This card uses the dies for the cupcakes and the stands. Glitter abounds! Background paper is Lemon Tart Bitty Dots from PTI. Love the "Happy, Happy, Happy" sentiment - always makes me think of Duck Dynasty! haha
This card uses some cupcake patterned paper (My Minds Eye???) and washi tape for the little flags. The sentiment is from Bountiful Banners by PTI. Below is the inside of the card, which uses the W+9 cupcake and the cute sentiment.
Thanks for looking!
Tuesday, January 21, 2014
Some catching up with my card posts
Hello! I haven't had time to blog lately, but I have been making cards. I thought I would share some of them with you today on this snowy day in Virginia.
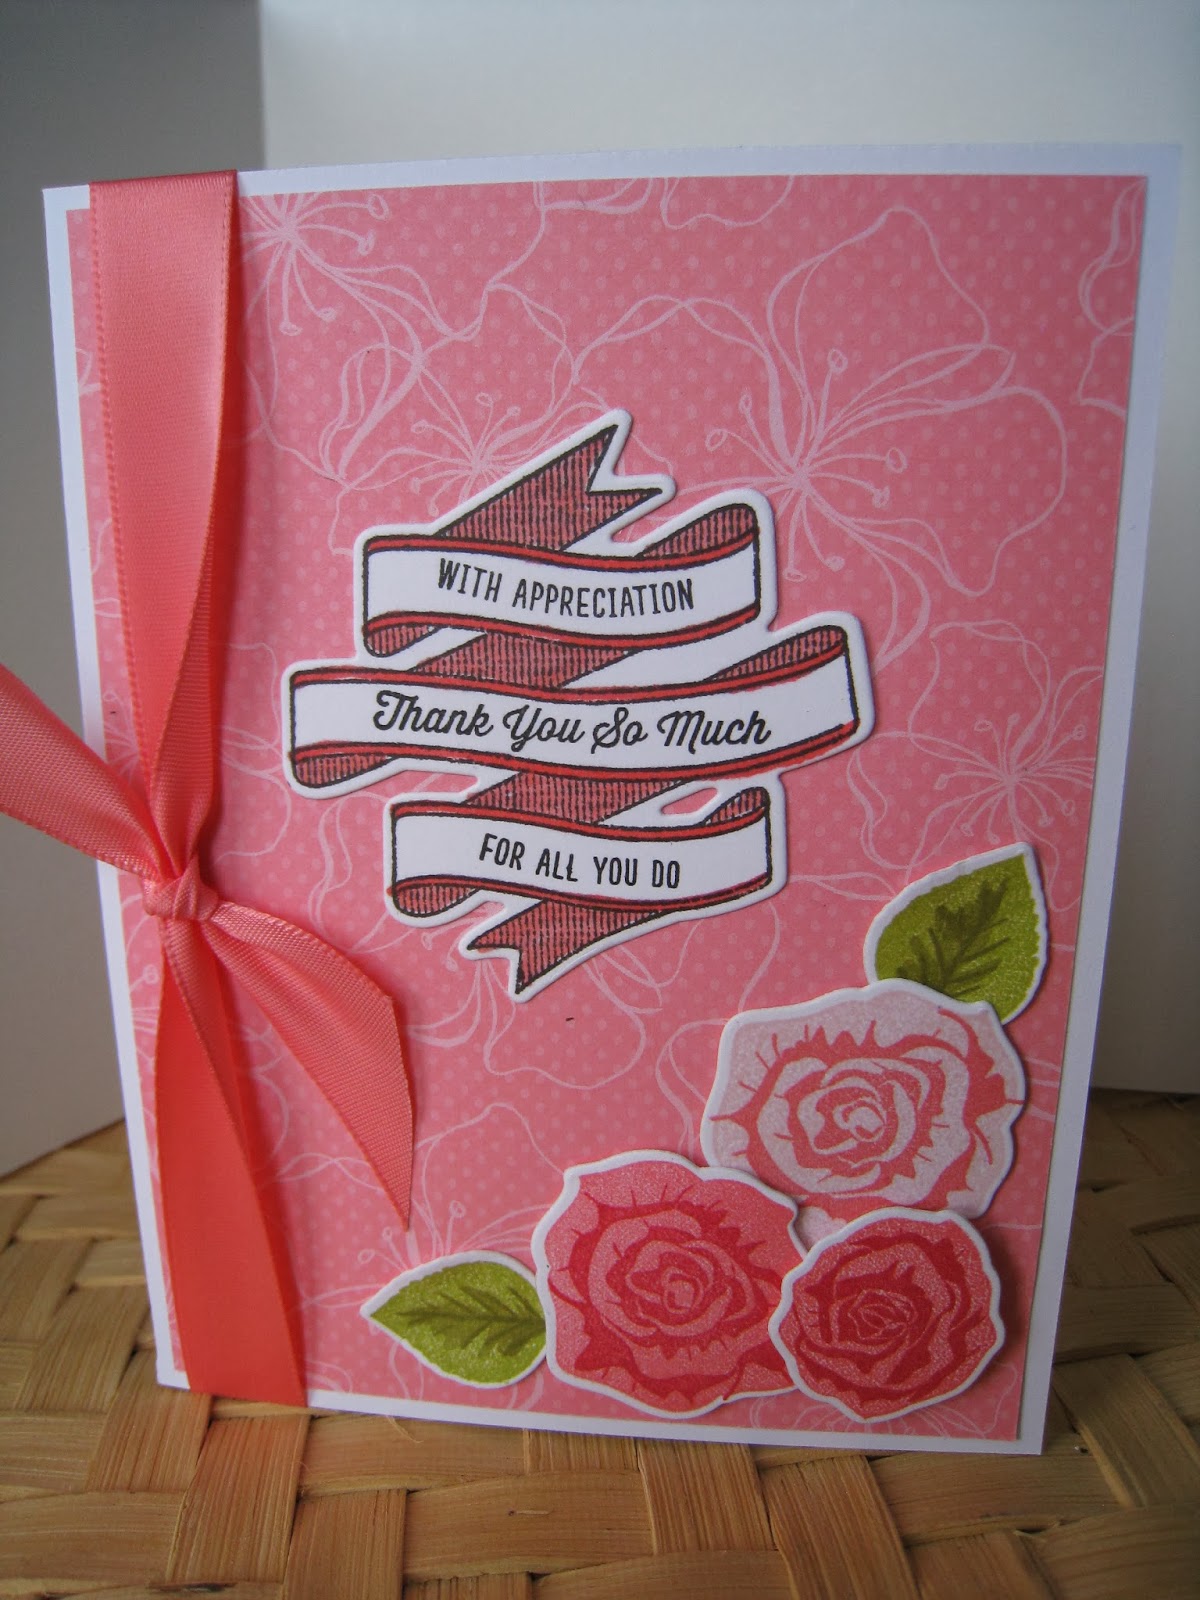
This card uses two other new W9 sets I purchased from the same store in Reston, VA. I have been having fun playing with my new goodies! The sets are Coming Up Roses, and Written on Ribbon. Both sets have matching dies, which makes the whole process so much easier! The ribbon set has a bunch of little sentiments that fit nicely on the ribbon. I need to go through my Papertrey stamps and see what other sentiments I have that fit on it. The rose and leaf stamps are two step images.
This is a birthday shaker card for my littest granddaughter's first birthday. I used a cupcake image from the Framed Out set by Waltzingmouse. I made this card before I purchased the W9 Sweets and Treats set, and I'm not totally satisfied with it - I may remake it using the W9 cupcakes. I totally cased this card from Marybeth Lopez. I just love everything she makes!
This card, and the next one, use a fun technique using diecuts. You die cut an image from the card front, in my case a bike die from Memory Box here, and a Hello sentiment from Papertrey next, and then cut the same sentiment out a few other times (I cut it out 3 times from heavyweight cardstock). Then you glue the cardstock diecuts together, and top them with the patterned paper diecut. Then you just glue it back in place. I just love the raised effect of this duecut technique! It is such a simple technique, yet kind of time consuming. Think about gluing those tiny spokes on top of one another! It's addicting though - I just love looking at these cards from different angles. The diecuts really pop from the side!
Thanks for taking the time to look at what I've been up to lately! Hope you are having a great day, and staying warm!
This is a birthday card I made for my daughter. I used a new set from W9 - Sweets and Treats. This set is full of cupcakes with different toppings and bottoms, plus a couple cupcake stands. I recently purchased this set from my local stamping store in Reston, VA. The set has dies to match, but they were out of stock, so I have them on order. Love this set! Such cherry cupcakes! Happy Birthday Kelly!
This card uses two other new W9 sets I purchased from the same store in Reston, VA. I have been having fun playing with my new goodies! The sets are Coming Up Roses, and Written on Ribbon. Both sets have matching dies, which makes the whole process so much easier! The ribbon set has a bunch of little sentiments that fit nicely on the ribbon. I need to go through my Papertrey stamps and see what other sentiments I have that fit on it. The rose and leaf stamps are two step images.
This is a birthday shaker card for my littest granddaughter's first birthday. I used a cupcake image from the Framed Out set by Waltzingmouse. I made this card before I purchased the W9 Sweets and Treats set, and I'm not totally satisfied with it - I may remake it using the W9 cupcakes. I totally cased this card from Marybeth Lopez. I just love everything she makes!
This card, and the next one, use a fun technique using diecuts. You die cut an image from the card front, in my case a bike die from Memory Box here, and a Hello sentiment from Papertrey next, and then cut the same sentiment out a few other times (I cut it out 3 times from heavyweight cardstock). Then you glue the cardstock diecuts together, and top them with the patterned paper diecut. Then you just glue it back in place. I just love the raised effect of this duecut technique! It is such a simple technique, yet kind of time consuming. Think about gluing those tiny spokes on top of one another! It's addicting though - I just love looking at these cards from different angles. The diecuts really pop from the side!
Thanks for taking the time to look at what I've been up to lately! Hope you are having a great day, and staying warm!
Sunday, April 7, 2013
Playing with my stamps!
Hello! I've had fun this past week playing with my stamps and making random cards. I've also had some time to play with my Silhouette Cameo and my new sketch pens. I thought I'd share some of the fruit of my labor with you.
This card uses Papertrey Embroidered Blooms and BB: Postmarks as well as one of the Fillable Frames dies. Inks used were Winter Wisteria, Royal Velvet (seems like I use a lot of that combination lately), Kraft and Versafine Black Onyx (my go to black). Cardstock is PTI Rustic Cream and Winter Wisteria. After making this card, I made another one using Aqua Mist and Ocean Tides inks.
This card uses a W9 set called Ever After. It was stamped with PTI Sweet Blush, Berry Sorbet and Spring Moss Inks, ties with some hand dyed seam binding, and mounted on Berry Sorbet cardstock by PTI.
This card uses the Friends Till the End stamp set by PTI, varieous copic markers, and some stickles, as well as Memento black ink.
These cards were a fun experimentation with Papertrey's Damask Designs. I got this set from a friend recently, and this is the first time I've had time to try it out. After stamping the various backgrounds in Ocean Tides ink by PTI, I impressed them with the Damask Designs impression plate. Unfortunately, you really can't see the impression in this photo, but it is a nice subtle touch IRL.
This card was sketched by my Silhouette Cameo using a red Silhouette sketch pen. It is a Silhouette design I purchased from the Silhouette Online store called 'flower" by Rivka Wilkins. I colored it in with a light pink copic marker. I need to find more of these sketch designs - I love to watch the pen sketch it out!
This scrapbook layout was the result of an online Silhouette class I took from Keri Bradford on the Jessica Sprague website here. The name of the class is "Silhouette: Oh the Places You Will Go!" I highly recommend Keri's classes on the Silhouette if you own one - I learned alot more about the possibilities of my machine with this class and the Designer Edition 1 class.
This card was made using a Hero Arts clear stamp set Poppies. I stamped it with Memento black ink and colored it with Copic markers. The sentiment is from Papertrey's Mini Blooms set.
This card uses Papertrey Embroidered Blooms and BB: Postmarks as well as one of the Fillable Frames dies. Inks used were Winter Wisteria, Royal Velvet (seems like I use a lot of that combination lately), Kraft and Versafine Black Onyx (my go to black). Cardstock is PTI Rustic Cream and Winter Wisteria. After making this card, I made another one using Aqua Mist and Ocean Tides inks.
This card uses a W9 set called Ever After. It was stamped with PTI Sweet Blush, Berry Sorbet and Spring Moss Inks, ties with some hand dyed seam binding, and mounted on Berry Sorbet cardstock by PTI.
This card uses the Friends Till the End stamp set by PTI, varieous copic markers, and some stickles, as well as Memento black ink.
These cards were a fun experimentation with Papertrey's Damask Designs. I got this set from a friend recently, and this is the first time I've had time to try it out. After stamping the various backgrounds in Ocean Tides ink by PTI, I impressed them with the Damask Designs impression plate. Unfortunately, you really can't see the impression in this photo, but it is a nice subtle touch IRL.
This card was sketched by my Silhouette Cameo using a red Silhouette sketch pen. It is a Silhouette design I purchased from the Silhouette Online store called 'flower" by Rivka Wilkins. I colored it in with a light pink copic marker. I need to find more of these sketch designs - I love to watch the pen sketch it out!
This scrapbook layout was the result of an online Silhouette class I took from Keri Bradford on the Jessica Sprague website here. The name of the class is "Silhouette: Oh the Places You Will Go!" I highly recommend Keri's classes on the Silhouette if you own one - I learned alot more about the possibilities of my machine with this class and the Designer Edition 1 class.
This card was made using a Hero Arts clear stamp set Poppies. I stamped it with Memento black ink and colored it with Copic markers. The sentiment is from Papertrey's Mini Blooms set.
Thanks for sticking with me through this long post! I think I'm up-to-date now. Have a great week!
Labels:
Copics,
Flowers,
Hero Arts,
Papercrafts,
Papertrey,
scrapbook layouts,
W9
Subscribe to:
Posts (Atom)