Showing posts with label Quilting. Show all posts

Wednesday, August 24, 2016

Garden Gate Penny Rug

Hello! I purchased the Garden Gate Make-it-Market kit, designed by Betsy Veldman for Papertrey Ink, a month or so ago, and the gate die in the kit was screaming to me to cut it out of felt. I thought about it for a while, and decided to make a penny rug using the gate and some of the flowers in the kit. This was a project that developed as I went, not a whole lot of pre-planning here.

I started by cutting out the gate from Papertrey's Vintage Cream felt. It cut beautifully!! I laid the gate on a piece of felted wool in my stash (and yes, I have a HUGE stash of wool!). I decided to cut out an 8" circle of wool for the center of the penny rug. I attached the gate with small dots of glue (Roxanne Baste it), and then blanket stitched the edges with Ecru floss (2 strands). The inside lattice was stitched with a whipstitch.


Next came the wisteria. I used the wisteria die cuts from the kit as my inspiration, and stitched the vine to the top of the gate using a stem stitch for the vine, french knots for the flowers, and striaght stitches for the leaves. I used varigated Weeks Dye Works floss to achieve the variety in color.

I then proceeded to figure out how to replicate the hollyhocks. I ended up using two of the smallest dies in the Mini Blooms die set to cut the blooms and leaves out of Papertrey Hibiscus Burst, Autumn Rose, Lemon Tart, and Spring Moss felt. I attached them with french knots, embellished the leaves and flower centers with small straight stitches. I filled in around the blossoms with green french knots to represent the greenery.


The final element I wanted to incorporate into the rug was the bleeding hearts. I LOVE bleeding hearts (the flowers, not the people!). The gate scene was already pretty full - I didn't want to cover up the gate too much, so I decided to put "bleeding" hearts on the pennies surrounding the rug. I used a heart from the Heart-to-Heart series for the larger light pink heart (Sweet Blush felt), and a smaller heart from Flipping Out (Autumn Rose felt). These were attached to 10 pennies with a whip stitch.  Then I added the stamens with straight stitches and french knots in a light yellow floss (DMC).


Then I assembled the penny rug by first backing the center with another piece of 8" round felted wool with a blanket stitch. This hides all the ugly stitching on the back.
Next, I backed each penny with another penny with a blanket stitch. This hides the stitching (of the bleeding hearts ones), and adds some weight to match the weight of the center.
Next step was to attach the pennies to the center circle. This was a bit tricky, even though I have made several penny rugs before. I basted each penny to the center with white thread on the front of the rug. Then, I flipped the rug over and whipstitched the pennys to the center, and to each other with black pearl cotton floss. The reason the stitch from the back, is to hide the whipsitching.
The front was complete! One thing that is important to me in quilting is to label the back of each quilt I make with details about the inspiration, what was going on at the time, my name and the date the quilt was made, etc. 100 years from now, when I am gone, my grandkids will hopefully be able to read those labels and learn a little more about why and when that quilt was made.
Saying all that, I decided to label the back of this little penny rug. I wanted to give Betsy Veldman and Papertrey credit for their designs, and have a scripture verse to represent my faith. I chose to use Psalm 100:4-5, since it referred to gates, and it spoke of the goodness of God.

"Enter his gates with thanksgiving, and his courts with praise; give thanks to him and praise his name. For the Lord is good and his love endures forever; his faithfulness continues through all generations. " Psalm 100:4-5 
 I used a feather stitch to attach the label to the back of the rug.
 I actually stamped the wisteria on the label using stamps in the kit.
 Credit to Betsy and Papertrey.
Now it is complete! Hope you enjoyed this explanation of how it was made! I think it is one of my favorite things I have ever made! Thanks for sticking with me through this long post!

Tuesday, August 9, 2016

Quilted Watercolor cards

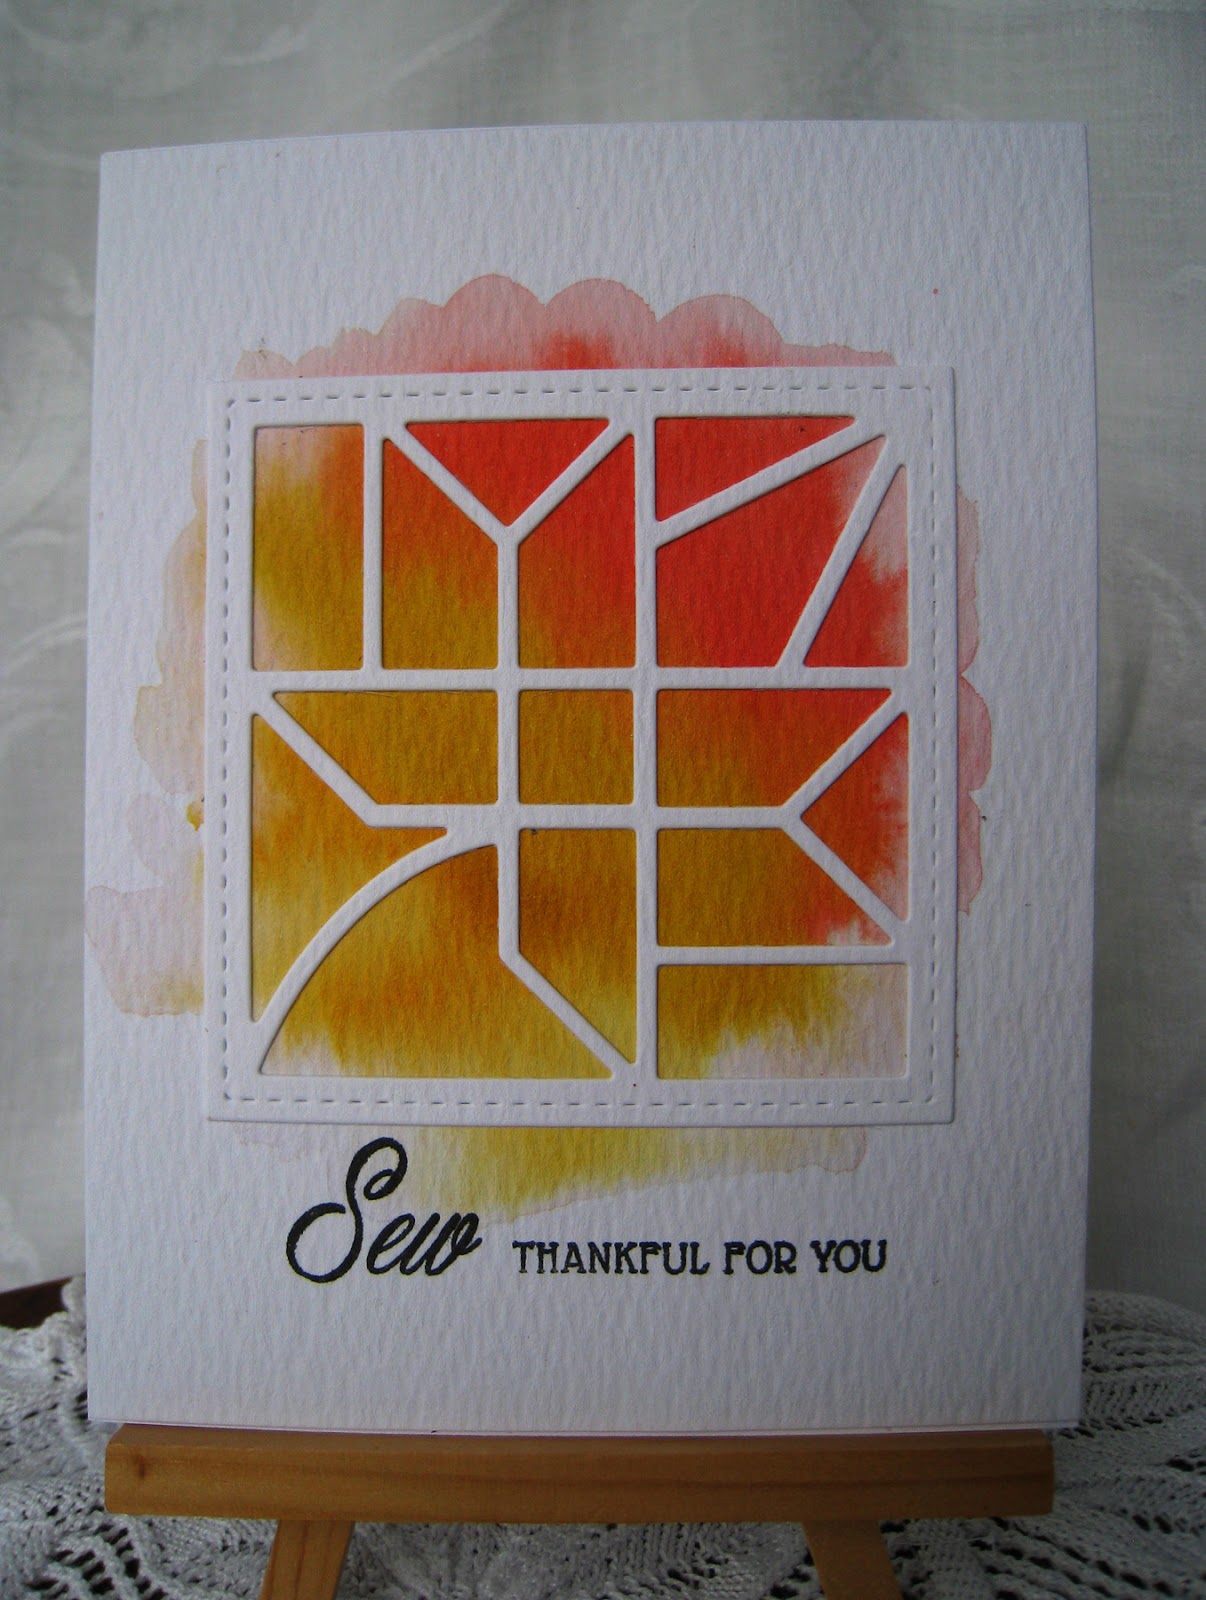
Hello! I was reminded today of some stamp sets and dies that I purchased from Papertrey last year. Melissa, one of the Papertrey Design Team, posted on the Papertrey Forum that she was looking forward to pulling out her Quilted: Autumn set to start creating for fall. This reminded me of a set of cards I made last year once I had collected all four season's Quilted sets. Being a quilter, they were a must-have series of stamps and dies! :) I decided to watercolor a background for the dies and keep them fairly simple. I just love how they turned out!

Quilted: Winter
 Quilted: Fall
 Quilted: Spring
 Quilted: Summer
Now to send these out to some of my quilting friends! Hope you enjoyed them too!

Sunday, January 3, 2016

Stitching a Primitive Heart

Hello! Thanks for stopping by my blog today! I have been stitching on a little heart sachet today and wanted to share it here with you.

 I used the Papertrey Primitive Stitched Hearts dies and cut two of the large hearts and one of the smaller hearts out of Papertrey Sweet Blush felt (LOVE!). I also cut out some small flowers and leaves with the Mini Blooms dies from Vintage Cream and Limeade Ice felt. I stitched the little flowers on the front of the small pink heart using just a french knot, and then stitched the leaves on with a single stitch. I made stems using a back stitch with green floss and then a bow in pink. I stitched the smaller heart onto one of the larger hearts using pink floss that is slightly darker than the Sweet Blush felt. 

I used a running stitch to sew them together. I then sewed the second larger heart onto the back of the first stitched large heart using the same pink floss and a blanket stitch. I wanted to use a more substantial stitch for the edge since I wanted to stuff the heart with a little fiberfill. I stuffed the heart once I was about 2/3 through stitching them together, and then stuffed a little more once I only had about an inch left to stitch. I then stitched a 1/8" ribbon through the center top to hang the heart.

I love how it turned out and plan to do several more in different PTI felt colors! I will probably spray these with perfume to scent them. Wouldn't they look pretty hanging from a peg? Hope you enjoyed them!

Friday, April 10, 2015

Card Quilting

Hello! I had some time to play today and thought I'd pull out Papertrey's Quilted: Spring set, designed by Betsy Veldman. The first thing I did was to cut the quilted square out of some Spring Rain patterned paper. I then glued the frame to a piece of white cardstock and stamped the quilting lines - also in Spring Rain. I loved the way the quilted lines turned out so much, that I decided to use the larger quilting stamp to create a background for my quilt square. I was amazed at how it turned out! Just like whole cloth quilt! I almost didn't want to cover it up with the quilted square. I also used the tiny little quilted flower stamp to stamp the centers of the quilting, rotating it 180 degrees and stamping it again to create the centers. Here is a picture of just the quilted background and the sentiment.
 I decided to go ahead and pop up the quilted square on the front. I just love the result! I guess I need to play with this set some more and see what I can come up with! This will be a birthday card for a dear friend that I quilt with. She will appreciate the "quilting" on it. :)
Hope you are having a fantastic day! Thanks for stopping by!

Wednesday, March 25, 2015

A Needlebook Obsession

Hello! A confession here - I think I might have an obsession with needlebooks... I have a ton of them. Some I have made, some have been made by friends. One was made by my dad - my favorite of all. Let me show you some of them - then you decide - do I really  need a kit to make more????

Wool needlecases with stamped die cuts on top two. Bottom left is simple wool applique. Bottom right was given to me by a friend - just a few pieces of wool sewn together - functional. Second picture is these cases opened up.

Made by a friend - silk embroidery.

Another silk embroidery case by my friend.

A beautiful fan shaped needle case with tons of silk ribbon flowers on the front. Beautiful inside and out. Made by my friend.


Cute wool beehive case - made by me.

Wool felt case made by a friend.

Simple 30s fabric case - made by me.

More silk ribbon cases from my friend. She passed away a couple years ago, and I bought these at her estate sale.


A simple roll case - made by me.

A felt and wool felt case - made by me.

This one is my favorite. My dad made it during WWII. He was a marine and fought in several larger battles. I imagine this was his field sewing kit. He left it to me in his will.


This was made from wool by me - just a simple case.

This crazy needle case was made by a friend of mine. It is made entirely from French knots - over 100 per inch!


Thursday, March 19, 2015

Chicken Scratch Embroidery

Before this month, I had never heard of chicken scratch embroidery. I have so many different hobbies already - I didn't need another one. But alas, Erin had to go and introduce chicken scratch stamps over on the Papertrey site on Nicole's blog here. I thought I was safe for a while. I googled and pinterested "chicken scratch" and wasn't overly impressed. I figured I'd pass on this one.

Then the other day I was in a quilt shop and saw some beautiful aqua gingham fabric. Aqua is my favorite color. Cannot resist it! So I bought a yard and thought maybe I'd give chicken scratch embroidery a try. Just a try. Not going crazy with it - yet.

So I searched on Pinterest and found a couple tutorials for actually doing the embroidery on gingham fabric. It started to look inviting. So I cut a 9" x 9" square of that beautiful aqua fabric and some Size 8 white pearl cotton and gave it a try.  It's actually very easy once you wrap your head around it.
Oh.my.gosh! I really really loved the results! The pearl cotton just makes the design jump off the fabric! I.think.I'm.hooked! So I made a little 4" square of a simple design using just the basic stitches, and then made it into a pincushion. LOVE!
This is the basic stitch pattern I used. Just four double cross stitches, four straight stitches, and then the weave through the straight stitches. I did the weave twice to make it pop.

I can't believe how the stitches transform the gingham! So I think my next project will be to make two little aprons for my two granddaughters with a chicken scratch border along the bottom. Not quite this elaborate, but along this line.
 
So what do you think? I think I need to order those stamps so I can make a coordinating tag!!! It never ends! Good thing it's so fun! Thanks for stopping by!